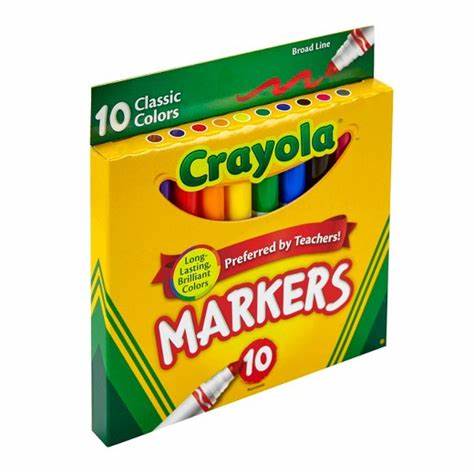
 Evening everyone, hope you are all well and safe, todays art project is water resistance a fun project we can all do. Resistance in Watercolour painting is used by even the most seasoned painters, you can use many methods to achieve this but today we used a simple little thing we have all used in our lives, a White Crayola Crayon, we also used kids watercolour palate and a black pen at the end. Its very simple technique, you draw what ever subject matter you want on your page with the crayon and then paint over it with watercolours, the paint will bead off the wax of the crayon and leave the area white. Once you are happy with the colours let it dry and then use the pen to highlight the subject. Hope you all have a wonderful day, be safe be kind L xoxoxox
0 Comments
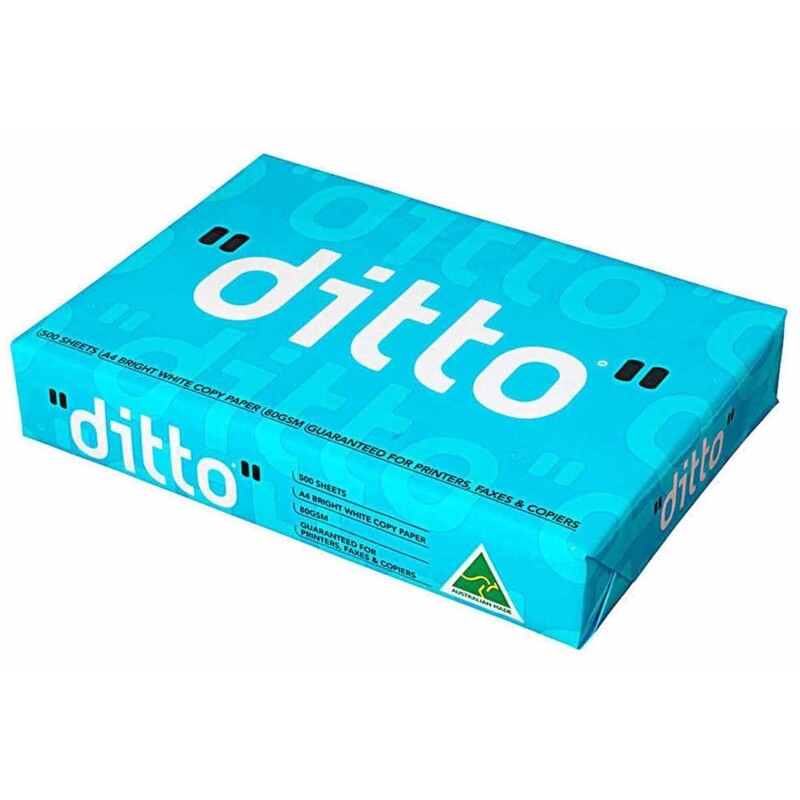
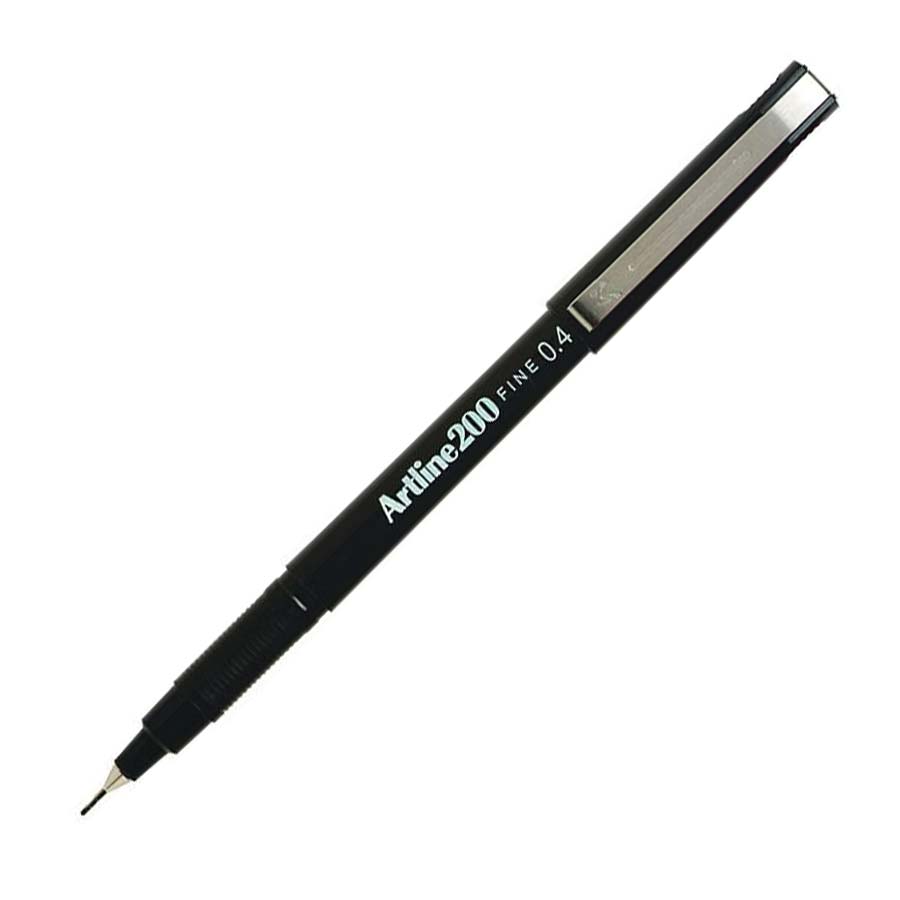
 Just in time for ANZAC Day I thought I would show you how to paint Poppies thought it would be a good one for the kids as well as adults, seeing as we cant do dawn services etc this year. I did todays session on the cheapest paper ever printer paper with kids watercolour paints and a artline black pen just to prove you dont need the top shelf stuff to create something pretty and bright. Biggest tip is to make sure you have the paper nice and wet for where your poppies will be get a good amount of really wet red paint and dab into the puddles on your page then change the colour to yellow wait for it to dry and then place a light dab of black in the middle of the flower place the stems etc in green, wait for that to dry then grab your pen and Bob's your Uncle. That's how simple it is, hope you enjoy this one just remember to make sure you paper is nice and wet where you flowers will be before dabbing the paint brush in with the red paint. Be Safe Be Kind Be Patient L xoxoxoxox 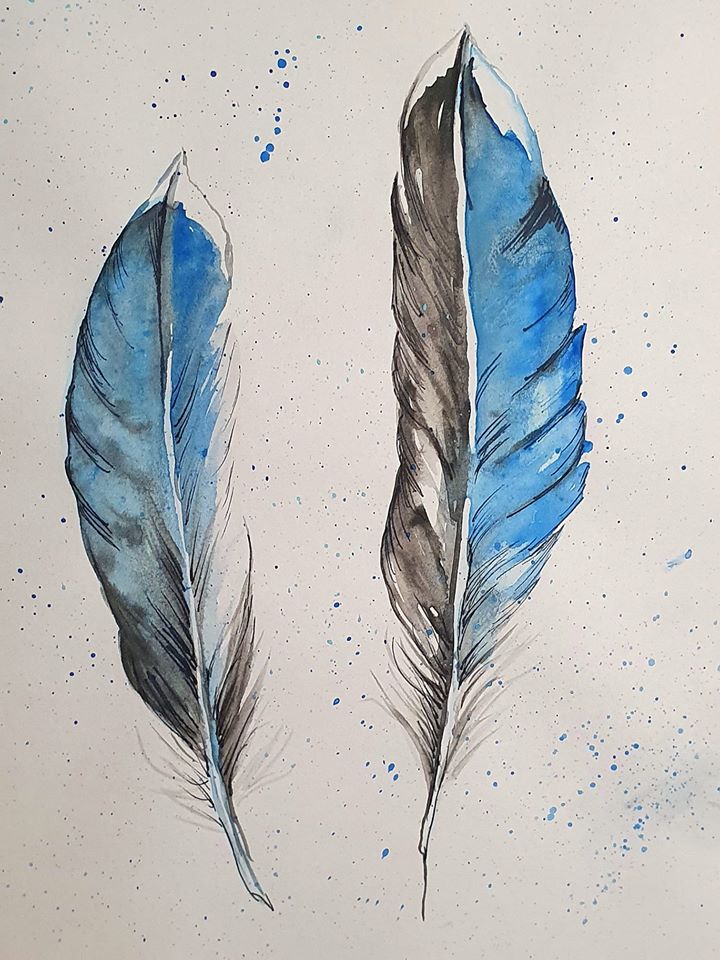 Hi everyone sorry for the late post tonight trying new things with videos etc. Todays project is some Boho Feathers in kids watercolour palate. Enjoyed doing this one and figured watching me paint would help some of you understand what I mean about getting the page wet where you are going to paint etc. Anyway hope you enjoy the video below showing from start to finish, and you managed to enjoy your weekend. Wonder what tomorrow will bring Be Safe Be Kind Be Patient We Will Get Through It Lxoxoxox  Hello Everyone, I have spent the day with my girls today and pottering around my house so I am a bit late with posting today sorry about that. Tonight I decided to do a quick illustration sketch, thought you all might like to try a face, the good thing about illustrations and cartoons is you get down to just the basics of drawing there is no major details and things are made more accentuated, like her lips are made bigger her face shape is altered and eyes are made a lot bigger. I have attached step by step photos below, you start with pencil and once you have your face the way you like then you use a fineline pen to draw the outline, you then rub out the pencil and then grab a grey and black texta and play with light and shadow etc. Just remember less is more in illustration and cartoons. Anyway hope you all had a lovely Saturday and I will be back tomorrow with a new project Be Safe Be Kind Lxoxoxox 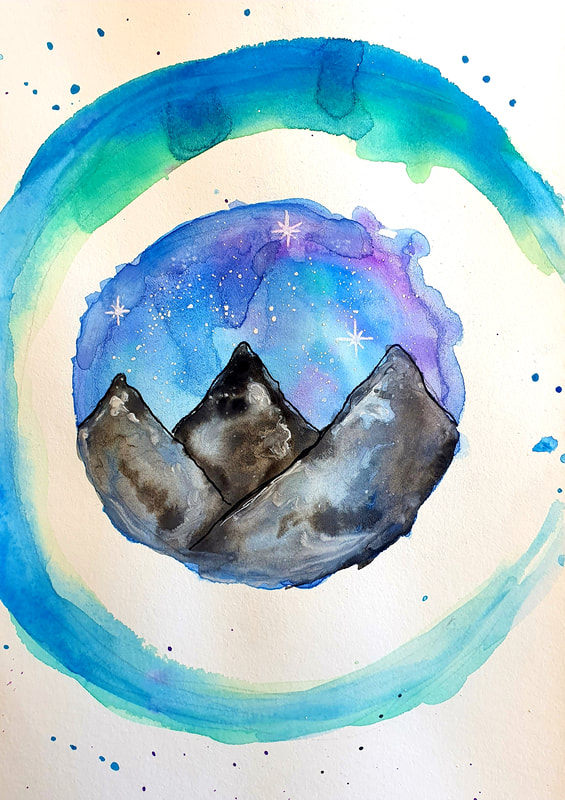 Hi everyone, thought we would do something we can all get creative with today and a galaxy mountain watercolour piece. This one is very easy to do for all ages and you dont need too many tools to do it. You will needs the kids watercolour palate some paper and water and that's it bingo sorted. Step 1 Draw a circle, now I include a swish with mine on the outside you dont have to its totally your choice. Step 2 Wet the inside of the circle so the paper is well and truly wet Step 3 Wet the paint palate the choice of colours you want to use I went with light and dark blue, light and dark green and purple. Once you have the paints wet get some paint on your brush I went with dark blue and then dab it onto the wet page you should see it blend down like in my pictures below. Dont over do it make sure you are keeping it light and not overloading the page with colour. Once you have done the edges with dark blue then do a light blue dab and blend it in by moving you page around, swirling it around so the paint meets and blends. You keep going with the other colours like the photos below. Step 4 Once step 3 is complete and dry you then draw on the mountains and wet the inner layer of your mountains, get a little bit of black on your brush and dab at the wet mountains until you are happy. Step 5 Once the mountains are ready then you move onto using some white watercolour paint to put dots for stars in the night sky. And that is it, a easy relaxing art project anyone can do, you dont have to do mountains you could do a silhouette of a deer etc let your imagination take a stroll. Hope you all have a lovely evening, would love to see some of you projects email me on [email protected] and if you would like to donate some money towards these daily art projects online you can email directly for the details. L xoxxox 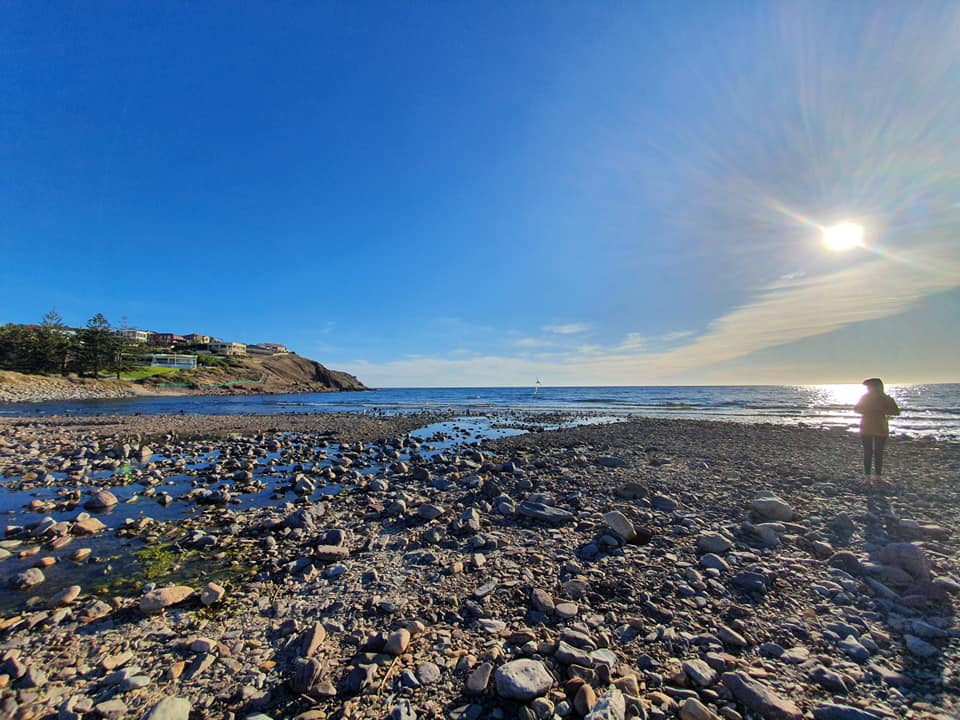 Ok today my girls were feeling a little trapped in our house, they have been home now 2 weeks, first week was with a silly head cold and this week we started doing online schooling with our school while all this crazy blows over. I have been doing all these projects with my two at home whilst trying to run my business and create and keep them on track with school tasks, its been a bit of a learning curve :-) so with todays low spirits I found it hard to get to you guys, which I'm truly sorry for. We went for a long afternoon stroll around our area with our dog to blow the cobwebs out, we live near the beach so we are very blessed in being able to find peace and fresh air and exercise while still keeping social distances. While on our adventure we didn't notice any bears in the windows, we went on a bear hunt but couldn't find any, so when I got back I quickly drew up a bear colouring picture for your young's ones to colour in. This cute bear has a bunny with him to keep him company but they aren't doing too well with the social distancing thing lol. Anyway tomorrow I will have a cool project for us to do, but for now stay safe be kind and print off my pdf for your little ones to colour in xoxoxox Oh ps if you go to my blog section on here you will find I am giving you all access free to a rabbit high res file to print off go check it out xoxoxoxo
 Hello Everyone, hope this post finds you healthy and happy, thought we would do a classic today, one of my most favourite painters Vincent Van Gogh. I have drawn up a colouring page and it is totally up to you how you colour it in, I have chosen watercolours and dabbed the paint in the movement of the swirls. I used the kids watercolour palate on printer paper so you can see how it would turn out for you using the same products at home. The photos below show you step by step but in short I painted light blue swirls then went over for contrast with a dark blue. As with all these projects I'm putting it up there is no hard and fast rule its just a time to let your creativity out and take a stroll across the page :-) The pdf is at the bottom of this post. Would love to see some of the pieces you are doing dont forget to share L xoxoxoxox
Hello Everyone, welcome to our safe place of creating and making our world a colourful place. Today we are doing a Watercolour Bird Silhouette a very simple technique to make a dreamy piece for your bedroom or any room in the house. Skill level is everyone can do this seriously and fun level well so much fun and you will feel like you have made a bit of piece of cool art you are proud of. Today I have done it in a video tutorial, my editing etc is very basic in regards to videoing, I did this one on my phone, its my dream to do this a lot more professional than this but we all have dreams we work hard to get to and this is mine :-) So you have been warned lol dont judge xoxoxox Any way stay safe L xoxoxox Good evening everyone how are we all holding up, hope you are all healthy happy safe and sound. Todays projects is watercolours with some really cute long legged birds. This is another easy one for all ages that I thought would bring some fun into you homes while we sit this thing out. You will need a page from your journal pulled out and cut off the jiggered edge, watercolour palate brush water and black Artline pen. Now for instructions, and before you ask no I haven't set up a pdf file to use to colour in, this one is all you, you can do it and you will be so proud at the end how it turned out. To start we are going to do the bird bodies, you need to wet your brush and then wet the page where you want your bird bodies to appear, it all depends on how big you make your birds but you want to make sure you have a moderate blob of water on the page. Once you have the placement in you wet the paints and then pop colour into the water well on your page, you will see the paint bleed out into the bubble, this is a bit I love about watercolours see photos below, now you dont need much paint maybe two drops like the one shown, it will spread over the pool of water. Once you have place all the bird bodies you want then you move onto the grass, most palates have two shades of green, if this is the case for you, you start with the light green first then move onto the contrast of the dark green once the light is dry. For the flowers you do four or six little bubbles of paint as the centre of the flower then you grab a wet clean brush dip the tip of the brush into a bubble then lightly push the brush down to give the petal appearance. And that's it, wait for it to dry then do the outline design showing a peak eyes bodies wings and long legs, see my finished piece below add wings and tails and cute long legs with some birds flying around etc, its up to you how far etc you go. Remember to share you pieces would love to see how they turned out Thanks Linda  How is everyone holding up in our crazy world today, lots of things in the news so I thought we needed some colour to brighten our day. Who doesn't love a bit of Modern Art I know I love it. The bright colours shapes and contrasts. I have made up 2 free to use colouring pages you can find the link to a printable pdf below. All you need to do is have at least 4 colours selected for the object i.e.. bunny or egg and 4 different colours selected for the background, do the frame the same colours as the bunny or egg or you can use another 4 different colours if you have them. Its that simple, print and colour, no need to panic about drawing it today I have made your lives easy ;-). Would love to see how you are going with these projects dont forget to share :-) and please find the pdf for these free to use colouring pages below. Take care of each other and see you tomorrow with a new project Linda xoxoxox
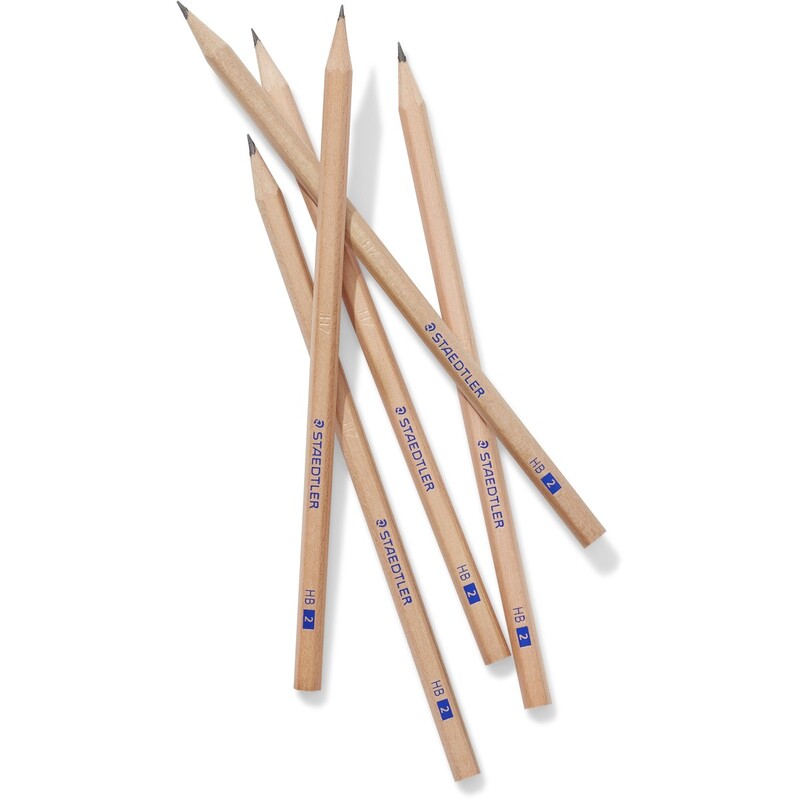
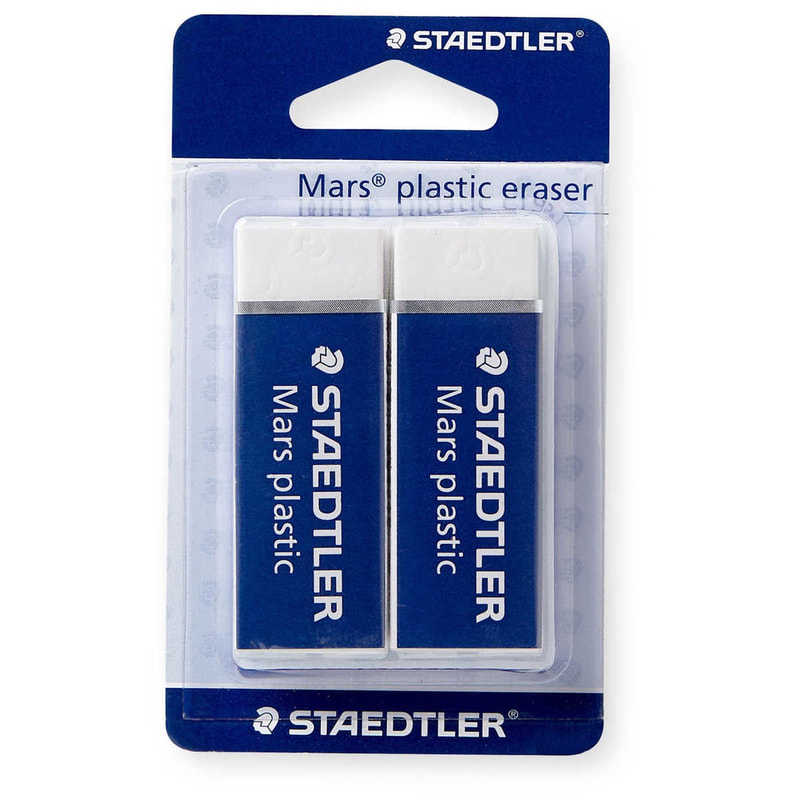
Hello everyone, today we have a fun one that can be decorated in so many ways, there is endless opportunities for this one, we are going to create our very own colouring page and then go as crazy as you want decorating it. I have done a pdf file for the foundation bunny if you dont feel comfortable drawing your own base (please see link at the bottom of this post). I have also given you step by step instructions (in pictures below) on how to draw a bunny outline to help you learn to draw, you will also see a pattern chart if you get stuck thinking of the patterns you want to use The tools you will need is just a A4, piece of printer paper, HB pencil and Eraser if you are drawing your own bunny and a Artline Black pen. If you are drawing it yourself then you use the pencil first to get your drawing correct then go over your drawing with the pen and rub out the pencil once finished. From there you add what ever pattern you want in each section. If you print off the template then you are good to go with doing the patterns. Once you have done all you patterns the rest is up to you, you can choose crayons, textas or pencil to colour in your bunny and leave the background blank, or you can give your bunny a background with flowers or you can colour in just the background only and leave your bunny black and white, seriously let your creative mind go exploring there is no wrong or right with this one. I hope you all enjoy this project I found it fun to set up and do, I thought it would make a great Easter craft. Something wonderful making your very own colouring page from scratch. You will see the printable pdf file of the colouring in page free to use :-) Have fun everyone and would love to see what you create :-) Linda PS just thought I better attach a printable of the bunny without the pattern too just in case :-) have fun creating guys
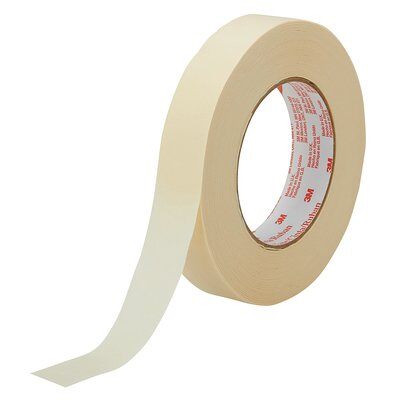
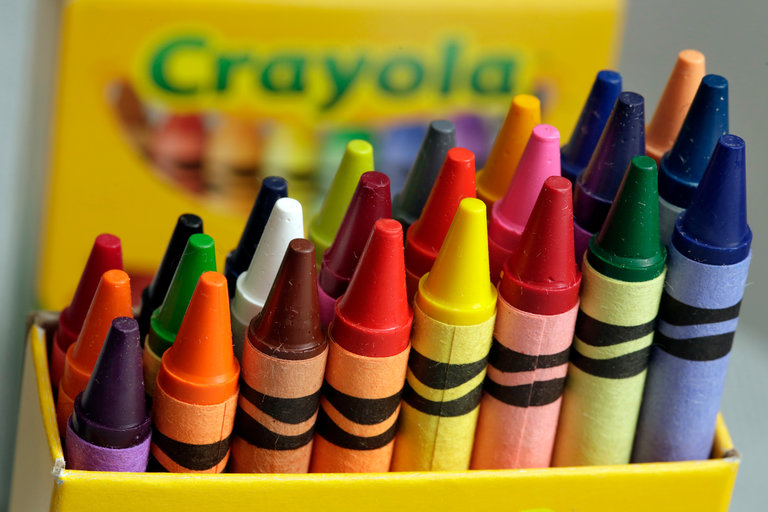
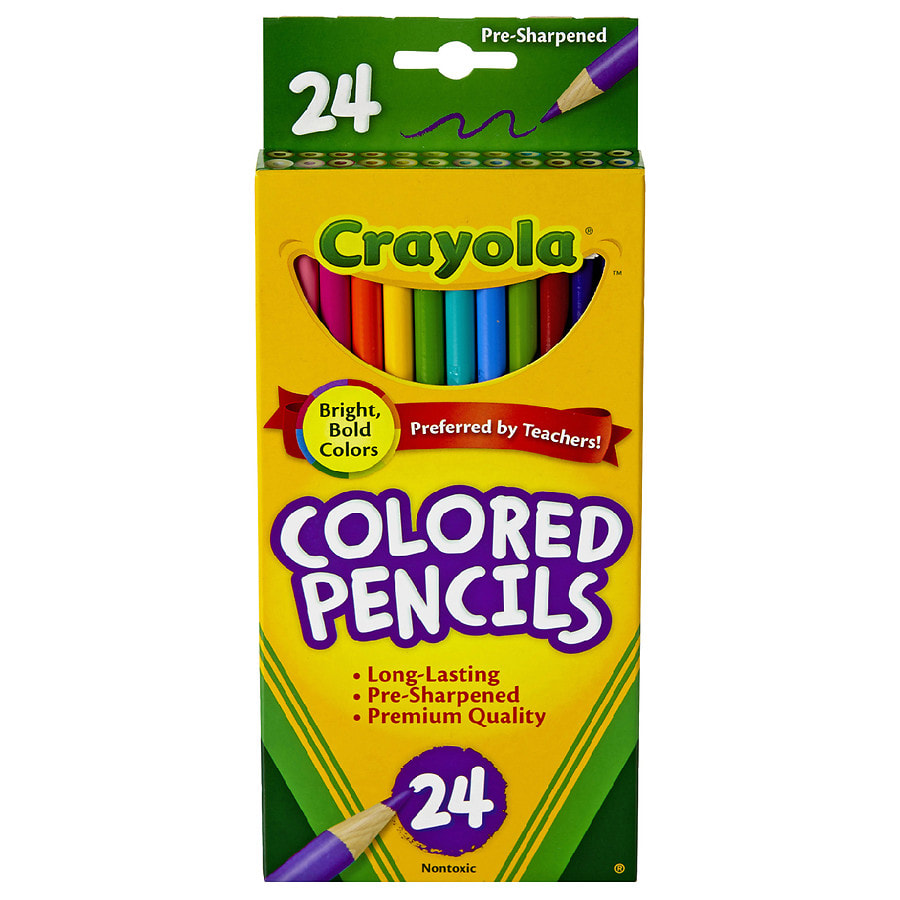
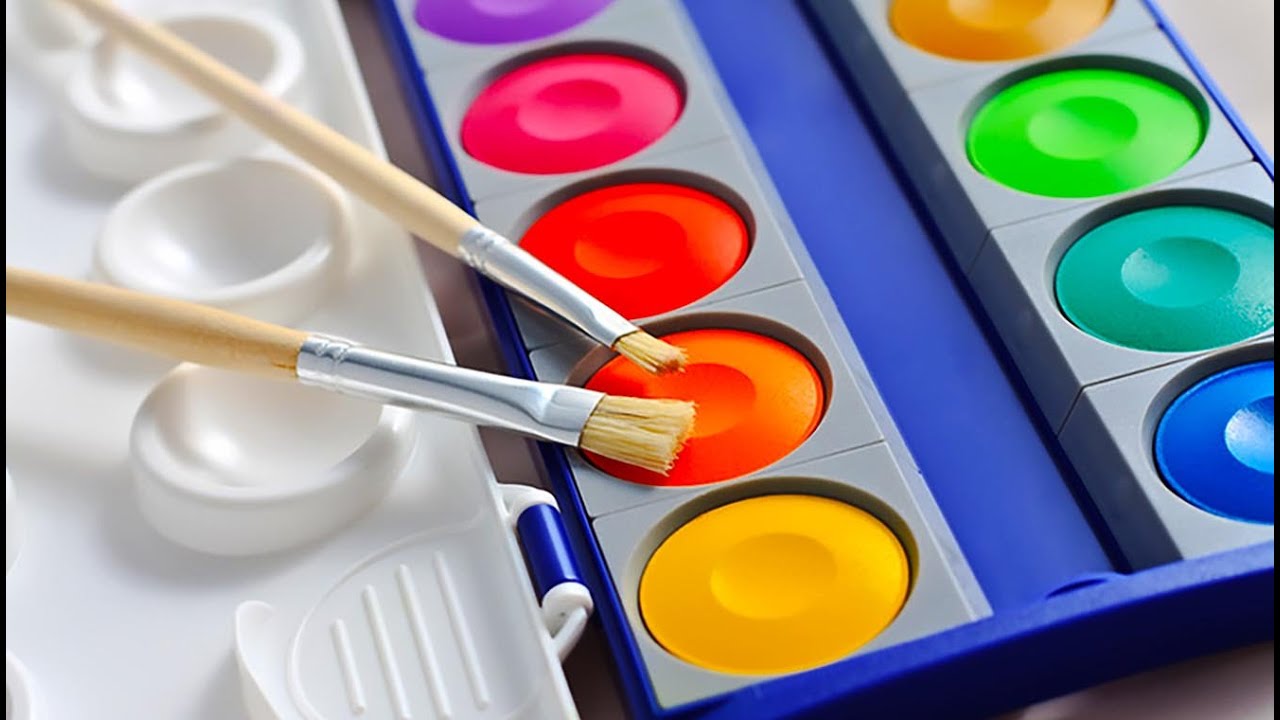
I thought I would give you all a list of the basic tools we are going to need doing art together so you can get yourself ready for spending time at home creating, again we dont mention the C word on here ;-), we are just spending some quality time at home making colourful things together, this is a positive space for you and your little ones. So anyway to make this as cheap and readily accessible I will be using things we hopefully have around the house to create for these projects. I may hold special classes that are bit more intense but the majority will be easy and relaxing and cheap for all. So what I need you all to do if you can is try to get together a creating kit, this would include a Art Journal, Printer Paper A4, Coloured Pencils, hb pencils, eraser, crayons, watercolour paint palate,s textas, masking tape and black artline fineline pens, now please bare in mind I am hoping most of you would have a lot of this stuff readily available, I' m hoping most families have pencils etc crayons and textas etc, as I said attempting to make this as cheap as possible for you all. You dont need to spend a small fortune on tools to make something colourful and cheerful to hang on the wall. Im super excited about this and I am looking forward to seeing what you all can create with basic tools and creativity :-) will post another project this afternoon its already in the making this has a Easter theme. Take care Linda xoxoxox Ok here is my first session ready for you and your little ones to get creative with, get as colourful as you like, make your soul happy with colours. This Masking Tape Name Art is something I did with my girls a long time ago and they loved it, they unleashed a love of colour and happiness. Its very east to do and you dont need too many things to make this happen. You just need some cheap masking tape, a piece of paper bigger the better, texta's coloured pencils or crayons, doesn't really matter which on what ever you have on hand. Place the paper down on a flat surface and then make your child's name on the paper with the masking tape, and then its up to the imagination of you and your child, what ever grabs them, it could be a rainbow, techno colour, bubbles, stripes or even a flower you can put anything. Once you are happy with your pattern then carefully peal of the masking tape and presto you have Masking Tape Name Art, this will keep them occupied for a good period of time and its cheap and easy to do, my girls loved it so much they had them up on their walls for over a year. The great thing about this project is it doesn't matter if you colour in the lines you can colour straight over the making tape :-) so its totally an all ages project. So lets get creating guys keep our kids busy and surrounded by happy colours and good vibes in these trying times. Dont forget to share your creations by emailing me a photo to [email protected] I will update the post with all your designs. Hello Everyone,
We all know our world is topzy turvy at the moment and a lot of us are house bound and we have bored kids and even you may be bored too. So I have come up with this idea that I will put something up to cure some of the boredom everyday until further notice. Now this is completely free to use there will be step by step art classes, colouring pages, art projects and even links that lead you to really cool galleries around the world that give you a virtual tour of their art. This place is going to be jam packed with great information and a place you can let your creativity run free even if you are confined to your house. I will hopefully run the projects with stuff you have laying around the house to make things cheaper for you. If you feel like giving money in support of what I am doing etc I wont say no lol I will post banking details later once first session is up, but as I said it is free to use, I know things are going to be tough over the next few months at least unfortunately and I am not saying the C word we all know it and I bet we are all sick of hearing about it, hence this page on my site, this page is for happiness creativity and sharing, I expect to see some sharing of your talents that is for sure. Any way Welcome to you all cant wait to get started, hopefully tomorrow will be the first activity to look at. Take care of each other and WATCH THIS SPACE ITS GONNA BE FUN Linda |
AuthorHi everyone Welcome, these art projects and future online interactive session are all free to use to keep everyone's creativity flowing, if you feel like donating some $'s to help fund this, please bare in mind its not a requirement, but if you can help assist with the running of these free Art Projects and Sessions Please feel free Banking Details upon request email me [email protected] or if you have pay to mobile number on your phone banking my mobile is 0414656548 (https://www.finder.com.au/how-to-transfer-money-using-your-recipients-phone-number) Archives
November 2022
Categories |
||||||||||


 RSS Feed
